Electrical wires power everything from home appliances to lighting, vehicles, machinery, and outdoor equipment. When a wire becomes damaged, frayed, or completely severed, the risk goes far beyond a device simply “not working.” Damaged electrical wires can cause shocks, short circuits, equipment failure, and even electrical fires.
how to repair broken wire
That’s why electrical wire repair must be handled carefully, using the right tools and proper techniques.
This guide explains how to repair damaged electrical wire, when electrical tape is appropriate, how to use a splice kit, and when you should not attempt DIY repairs.
1. How to Know If an Electrical Wire Is Damaged
Before repairing anything, it’s essential to identify the type and severity of the wire damage. Common signs include:
-
Cracked or worn insulation
-
Exposed copper conductor
-
A wire that works intermittently when bent
-
Burn marks, melted insulation, or a burnt smell
-
Rodent-chewed wires
-
Completely severed or pulled-apart wires
If you notice major burning, melted copper, or corrosion, the wire may need to be replaced entirely.
2. Types of Electrical Wire Damage and How to Repair Them
Different types of damage require different repair methods. Below are the most common scenarios.
2.1 Minor Cuts, Nicked Insulation, and Frayed Cords
This type of damage is the easiest to fix and typically happens with:
-
Phone chargers
-
Extension cords
-
Small appliances
-
Lamp wires
How to Fix It: Electrical Tape or Heat Shrink Tubing
Electrical tape is acceptable only when the copper conductor is not broken and the damage is superficial.
Steps:
-
Turn off power or unplug the device.
-
Inspect the wire—ensure the conductor is intact.
-
Wrap the damaged area tightly with high-quality electrical tape.
-
If possible, reinforce with heat shrink tubing for better protection.
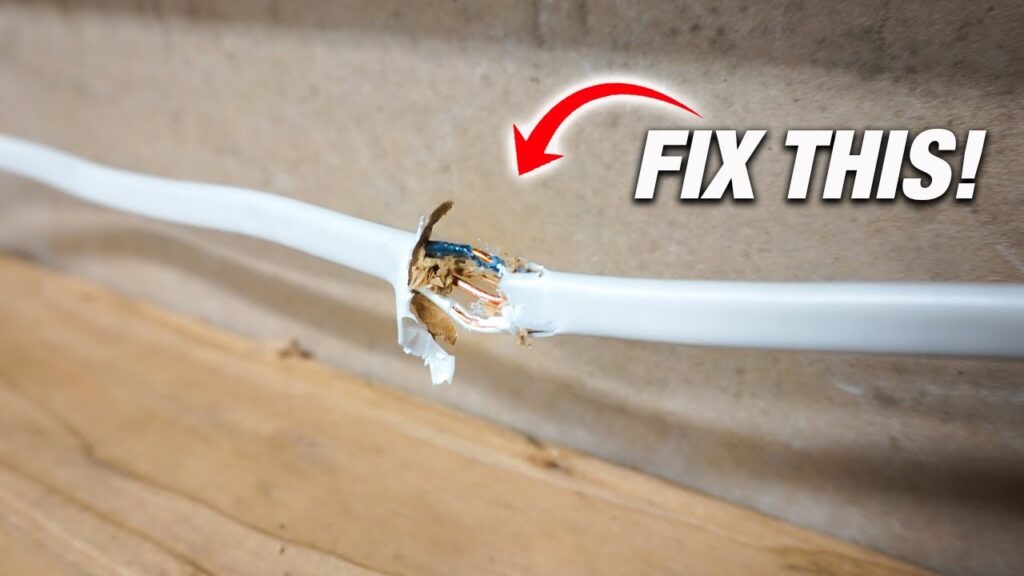
2.2 Completely Cut or Severed Wires (Broken Wire Repair)
If the wire is fully cut—meaning copper strands are separated—you cannot use electrical tape alone.
You must use a splice kit, wire repair kit, or proper connectors.
Best Method: Inline Splicing Using Butt Connectors
This method is suitable for:
-
Power tools
-
Appliances
-
Automotive wiring
-
Garden equipment
-
Lighting systems
How to Repair a Cut Electrical Wire (Step-by-Step)
-
Turn off power or unplug the device.
-
Remove the damaged section if needed.
-
Strip insulation (usually 1/2 inch).
-
Insert each conductor into a butt splice connector.
-
Crimp firmly using a crimping tool.
-
Slide heat shrink tubing over the splice.
-
Heat it for a waterproof, secure seal.
-
Test the wire.
This is the most reliable method for broken wire repair.
2.3 Damaged Household Branch Wiring (Walls, Ceilings, Attics)
This category includes NM cable, Romex, and fixed building wiring.
Important:
You cannot repair wall wiring using tape or informal connectors.
Repairs must follow electrical code:
-
The damaged section must be inside an accessible junction box.
-
Connections must use UL-listed wire connectors.
-
The box must have a cover.
-
The splice cannot be buried behind drywall without access.
If the damage is extensive or near the panel, call a licensed electrician.
3. Essential Tools and Materials for Safe Wire Repair
A successful repair requires the right equipment. Recommended tools include:
-
Electrical tape (for minor insulation damage only)
-
Heat shrink tubing
-
Wire strippers
-
Crimping tool
-
Butt connectors
-
Cable splice kit / wire repair kit
-
Multimeter (to test continuity)
-
Replacement wire if needed
4. Real-World Repair Examples
4.1 Repairing a Cut Appliance Cord
Example: vacuum cleaner, fan, or space heater.
Best method: replace the entire cord or use an inline splice with heat shrink.
4.2 Fixing an Outdoor Extension Cord
Use outdoor-rated connectors and heat-shrinkable butt splices.
4.3 Automotive and Marine Wire Repairs
Use sealed heat-shrink connectors to prevent water intrusion.
4.4 Underground or Outdoor Cable Repair
Must use waterproof splice kits rated for direct burial or wet locations.
5. When You Should NOT Repair a Wire Yourself
DIY repair is risky in the following situations:
-
Burned or overheated wires
-
Water-damaged wires
-
Melted insulation
-
Aluminum wiring
-
Wires inside breaker panels
-
Main service cables
-
Any wiring in commercial buildings without permission
If you’re unsure, calling a professional electrician is the safest choice.
6. How to Prevent Electrical Wire Damage
A few long-term tips to avoid future repairs:
-
Avoid bending or crushing cables repeatedly
-
Keep wires away from heat sources
-
Use cable protectors in high-traffic areas
-
Replace old or brittle cords regularly
-
Store extension cords properly
-
Keep wires away from pets and rodents
7. Electrical Wire Repair FAQ
How do I repair broken wires?
Use a splice kit or butt connectors—never tape alone.
Can electrical tape fix a cut wire?
Only if the copper conductor is not damaged.
Are splice kits safe?
Yes. They are the most reliable method for repairing cut electrical wires.
Can I fix a severed wire myself?
Yes—if it's a simple appliance cord.
No—if it’s wall wiring or high-voltage circuits.
Is it safe to repair damaged electrical wire?
Yes, if done correctly with proper connectors and insulation.
8. Conclusion
Electrical wire repair ranges from simple fixes like taping a frayed cord to more complex procedures requiring splice kits and sealed connectors. The key is understanding the level of damage and choosing the correct repair technique.
For anything involving home wiring, high voltage, burning, or moisture—hire a licensed electrician. But for cut appliance cords, outdoor wires, or automotive wires, the right tools and proper technique can make the repair safe and long-lasting.


