Why Plan Low Voltage Wiring During Construction?
Installing low voltage wiring during new construction is significantly more cost-effective and easier than retrofitting. With walls open and access available, you can create a comprehensive system that supports modern home technology while maintaining clean aesthetics and optimal performance.
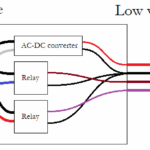
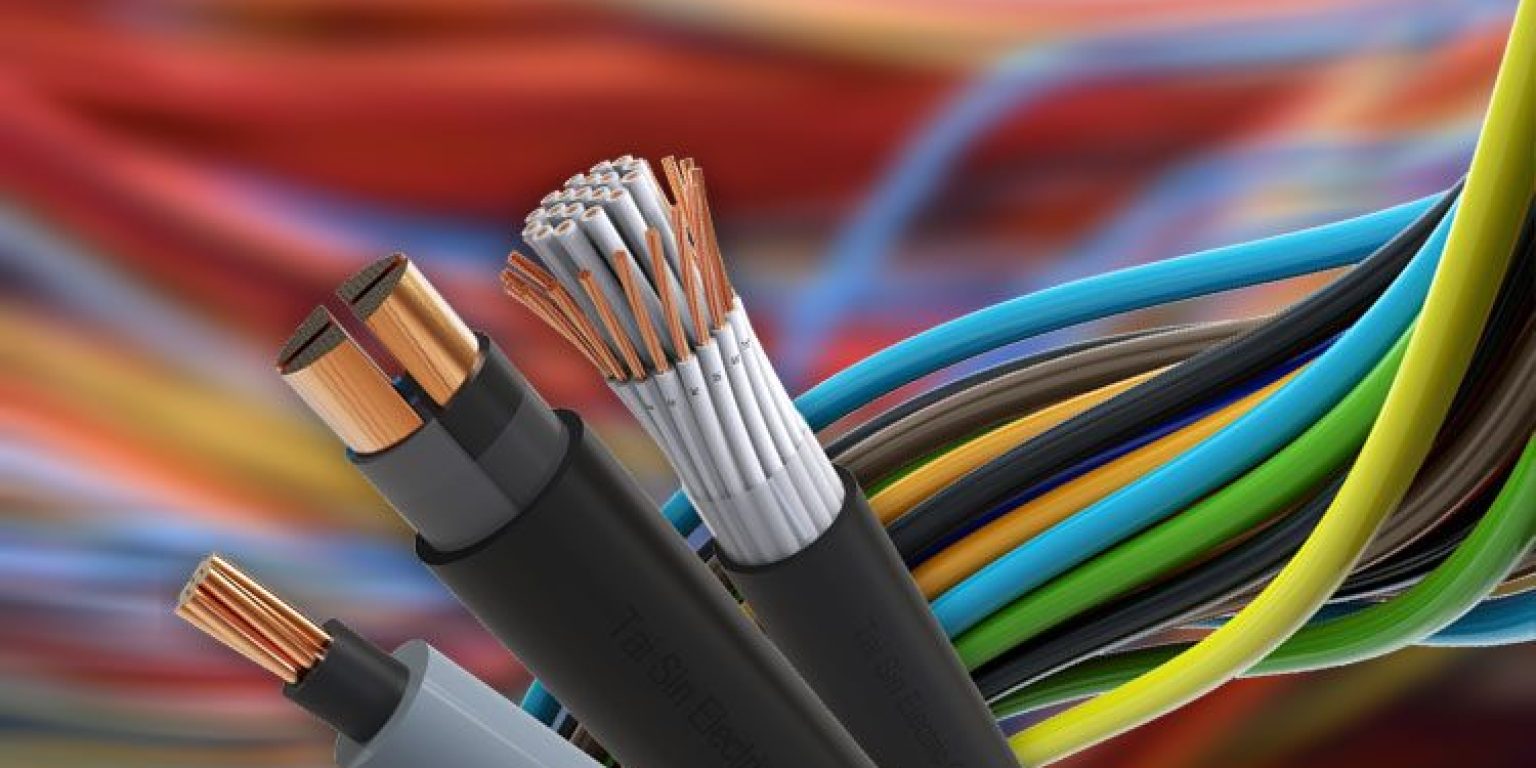
low voltage wiring new construction
Essential Low Voltage Systems to Consider
Structured Cabling (Category 6/6A)
Purpose: Internet, phone, and data throughout the home Installation: Run Cat6 or Cat6A cable to every room, terminating at a central distribution panel Future-proofing: Consider running conduit for easy cable upgrades
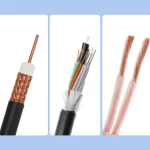
Coaxial Cable (RG6)
Purpose: Cable TV, satellite, and internet services Installation: Home run configuration from main distribution to each room Tip: Even with streaming services, coax provides backup internet options
Audio/Video Wiring
Speaker Wire: 14 AWG or 12 AWG for in-wall and ceiling speakers HDMI Conduit: Run conduit between TV locations and equipment closets Audio Distribution: Central audio systems require dedicated low voltage runs
Security and Automation
Security Cameras: Cat6 cable for IP cameras, power over Ethernet capability Doorbell Systems: 18 AWG wire for video doorbells and intercom systems Smart Home: Dedicated neutral wires and control cable for automation systems
Planning Your Low Voltage Layout
Central Distribution Strategy
Create a central wiring closet or panel location that serves as the hub for all low voltage systems. This should be:
- Easily accessible for maintenance
- Near the main electrical panel
- In a climate-controlled area
- Large enough for future expansion
Room-by-Room Requirements
Living Areas: Multiple Cat6 drops, coax, speaker wire for surround sound Bedrooms: Cat6 for internet, coax for TV, consider ceiling speaker pre-wire Kitchen: Cat6 for smart appliances, under-cabinet lighting pre-wire Home Office: Extra Cat6 drops, dedicated phone lines if needed Bathrooms: Speaker wire for ceiling speakers, smart mirror pre-wire
Code Requirements and Best Practices
NEC Compliance
- Maintain 6-inch separation from AC power lines
- Use appropriate cable ratings (CMP for plenum spaces)
- Proper grounding and bonding requirements
- Fire-stopping at floor and wall penetrations
Installation Standards
- Avoid sharp bends that exceed cable bend radius
- Support cables every 4-6 feet to prevent sagging
- Label all cables at both ends for easy identification
- Use proper cable management and organization
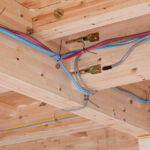
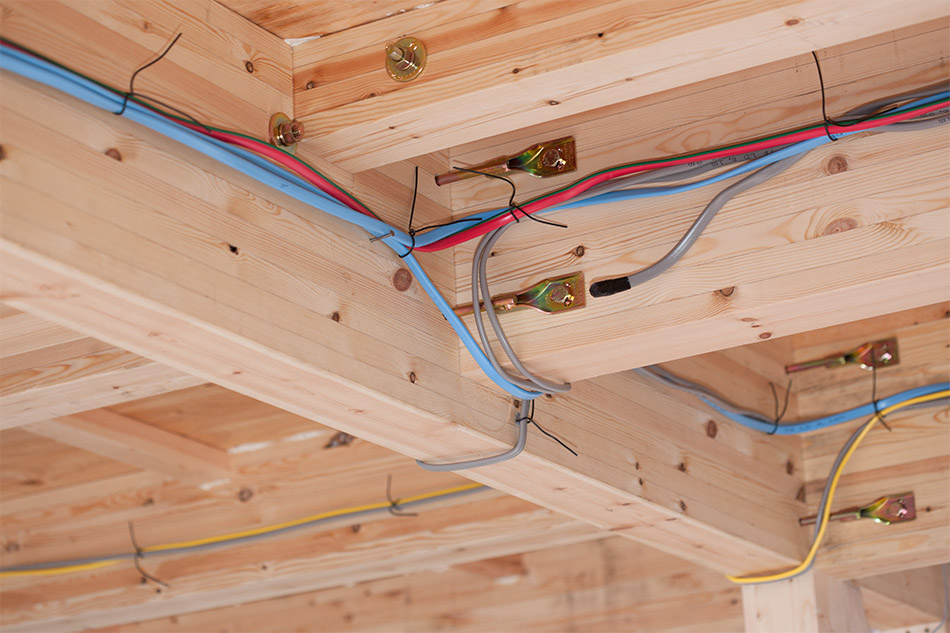
Timing in Construction Process
Rough-In Phase
Install all cables after framing but before insulation and drywall. This is your primary opportunity for clean installation.
Pre-Drywall Checklist
- All cables pulled and secured
- Proper cable management installed
- Cables tested for continuity
- All penetrations properly sealed
Final Phase
- Install outlets, jacks, and faceplates
- Terminate cables at distribution panel
- Test all connections
- Document cable runs for future reference
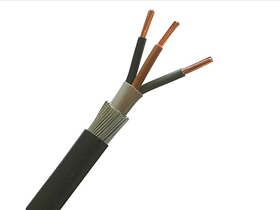
Common Wire Types and Applications
Structured Cabling
Cat6: Suitable for most residential applications, supports gigabit speeds Cat6A: Better for longer runs and future 10-gigabit applications Installation: Maintain proper twist ratio, avoid untwisting more than 0.5 inches
Coaxial Cable
RG6: Standard for cable TV and satellite RG6 Quad Shield: Better performance in high-interference environments Compression Fittings: Use only compression connectors for reliable connections
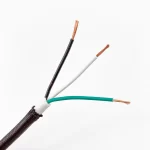
Security and Low Voltage Power
22 AWG: Alarm systems and basic security devices 18 AWG: Higher power devices like smart thermostats Direct Burial: Use appropriate cable for any outdoor runs
Budgeting Considerations
Material Costs
Plan for approximately $3-8 per linear foot including cable, connectors, and installation hardware. Higher-end systems with extensive automation can cost significantly more.
Labor Coordination
Schedule low voltage installation with your electrical contractor to ensure proper coordination and code compliance.
Future Expansion
Install 20-30% more cable than currently needed and consider conduit for high-change areas like entertainment centers.
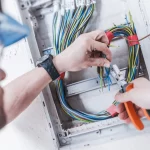
Professional Installation vs DIY
When to Hire Professionals
- Complex multi-room audio/video systems
- Extensive security camera installations
- Commercial-grade networking requirements
- Integration with existing building automation
DIY Considerations
Basic Cat6 and coax installation can be DIY-friendly during construction, but proper testing equipment and termination skills are essential for reliable results.
Testing and Documentation
Required Testing
- Continuity testing for all cables
- Network cable certification for data applications
- Coax signal level testing
- Proper grounding verification
Documentation Package
Create a comprehensive record including cable schedules, floor plans with cable routes, and panel layouts for future maintenance and upgrades.
Future-Proofing Strategies
Install conduit in high-change areas, oversize your distribution panel, and consider emerging technologies like fiber optic cables for ultra-high-speed applications.